Your cart is currently empty!
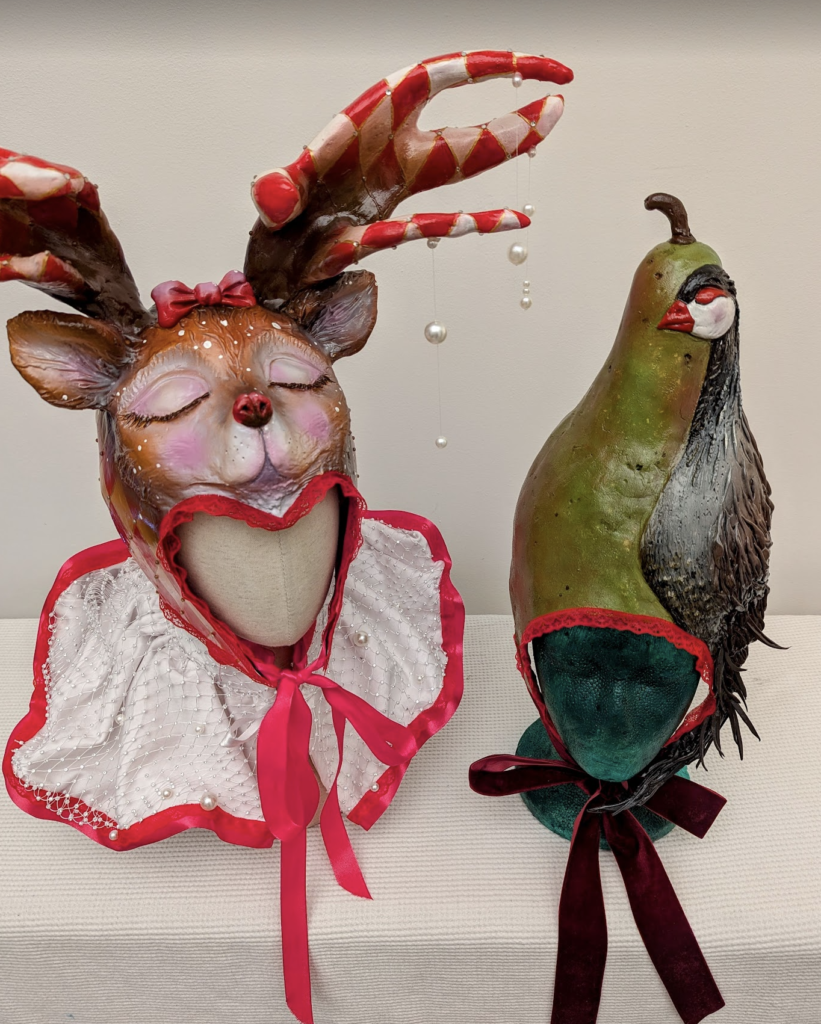
Partridge in a Pear – the making of
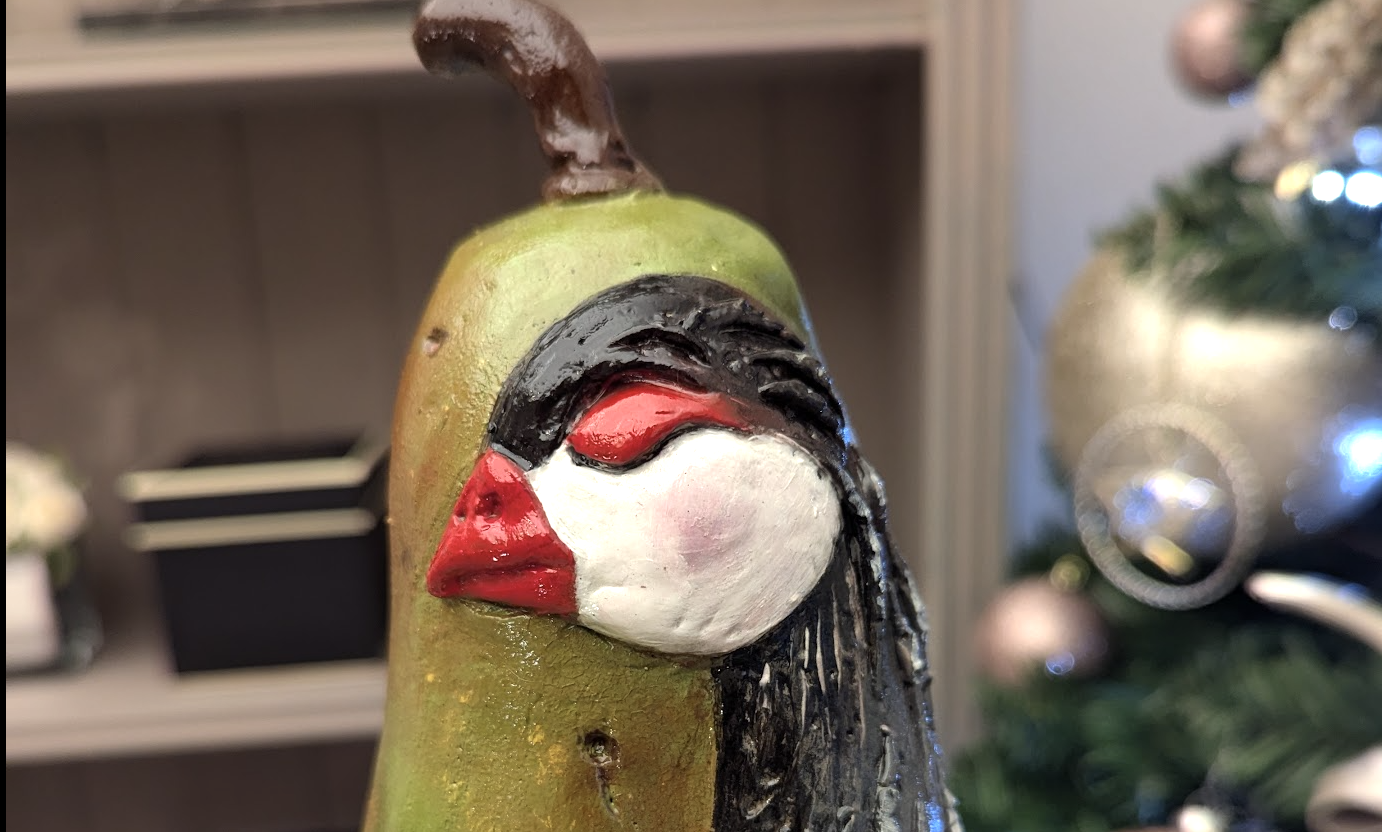
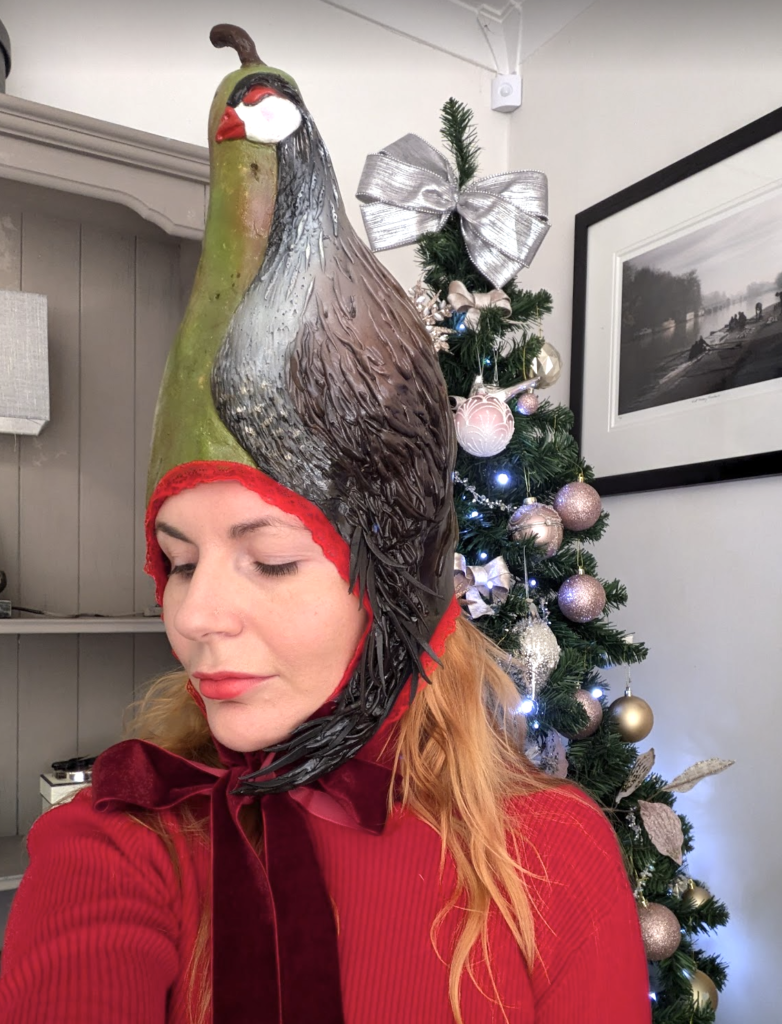
This being my second bonnet came together a lot quicker!
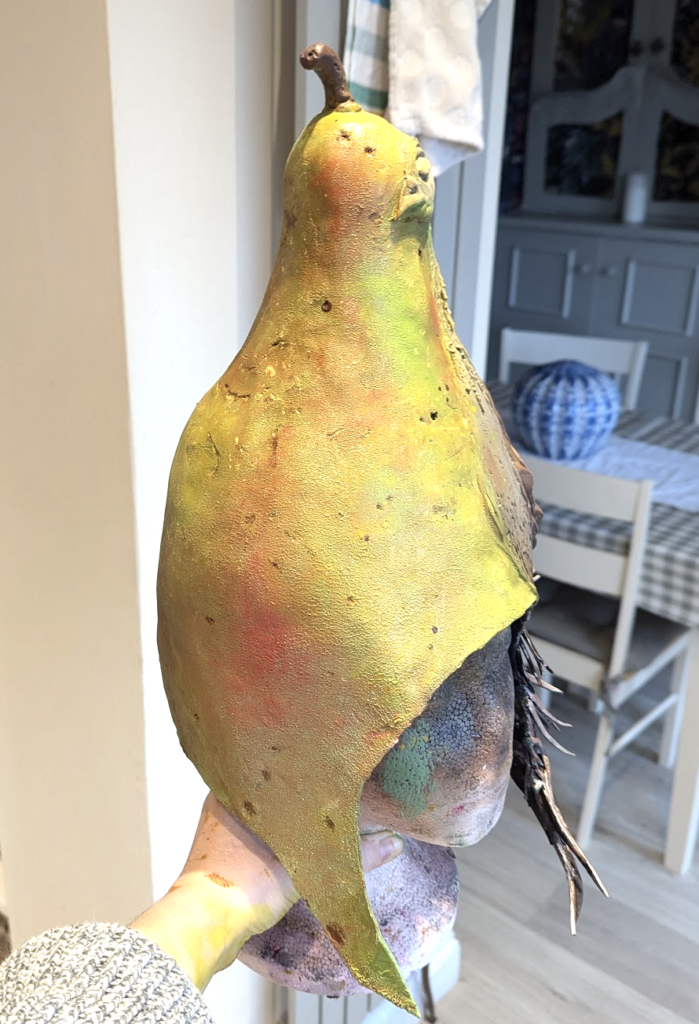
The base is the same pattern as the reindeer, and so I knew exactly how I was going to get the finish and the lining to look neat.
The pear being organically a little bumpy helps too.
The pear took a load of layers to get to the effect I wanted. There’s an initial flat layer of acrylic, followed by multiple shades in airbrush- mainly red, yellow, brown and various greens.
Once those layers were added, I used brush stippling to intensify the reds and add more texture. The holes and cracks I’d added, I infilled with a solid brown acrylic, and added white spots using a bristle clay tool. This looked terrible for a while as it came off too strong, so I went back over with at least 2 more layers of various air brush paints to soften the markings.
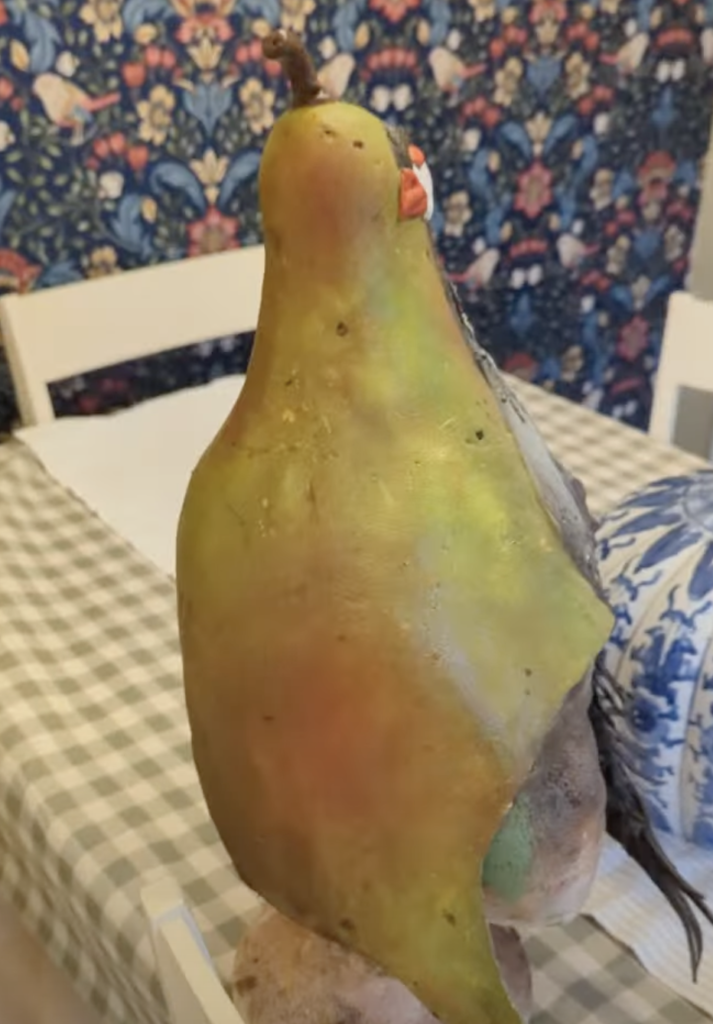
Finally, the laquer (my fave)! was added and it just smoothed everything nicely. I must go through at least half a bottle on each project. It’s proved very tricky to photograph though – the green looks a little dull in images which is a shame.
Photography is something I need to look into. Ironically its not something I’m drawn to even though my dad used to be a photographer when he was a lot younger!
If I get time, I’d love to make a matching fan of pears, but I also have a heap of other projects on my list!
